5 Steps to Starting a Community Composting Program On Your Allotment
Starting a community composting program on your allotment site can have many benefits. Composting reduces waste, improves soil health, and can even reduce greenhouse gas emissions. Plus, it’s a great way to get to know your fellow gardeners and work together towards a common goal. In this post, we’ll go over the steps you’ll need to take to start a composting program at your allotment site.
Step 1: Get Approval from Your Allotment Site Management
Before you begin any kind of composting program, it’s important to get approval from your allotment site management. They may have specific guidelines or regulations that you need to follow, and you’ll want to make sure that everyone is on board with the project. If you’re not sure who to talk to, start by asking the site manager or a member of the allotment committee.
Step 2: Gather Materials and Equipment
You’ll need a few basic materials and equipment to get started with composting. Here are the essentials:
- Compost bins:
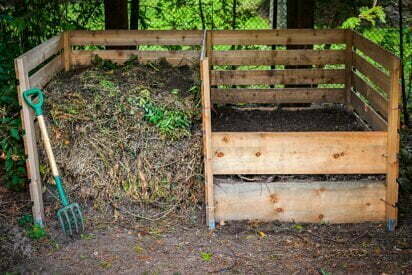
You’ll need at least one compost bin to start with, but depending on the size of your allotment site and the number of gardeners, you may need more. Compost bins come in many different sizes and styles, so choose one that fits your needs and budget. - Compost starter:
Compost starter contains microbes that help to break down organic matter into compost. You can buy compost starter at most garden centers or online. - Gloves and tools:
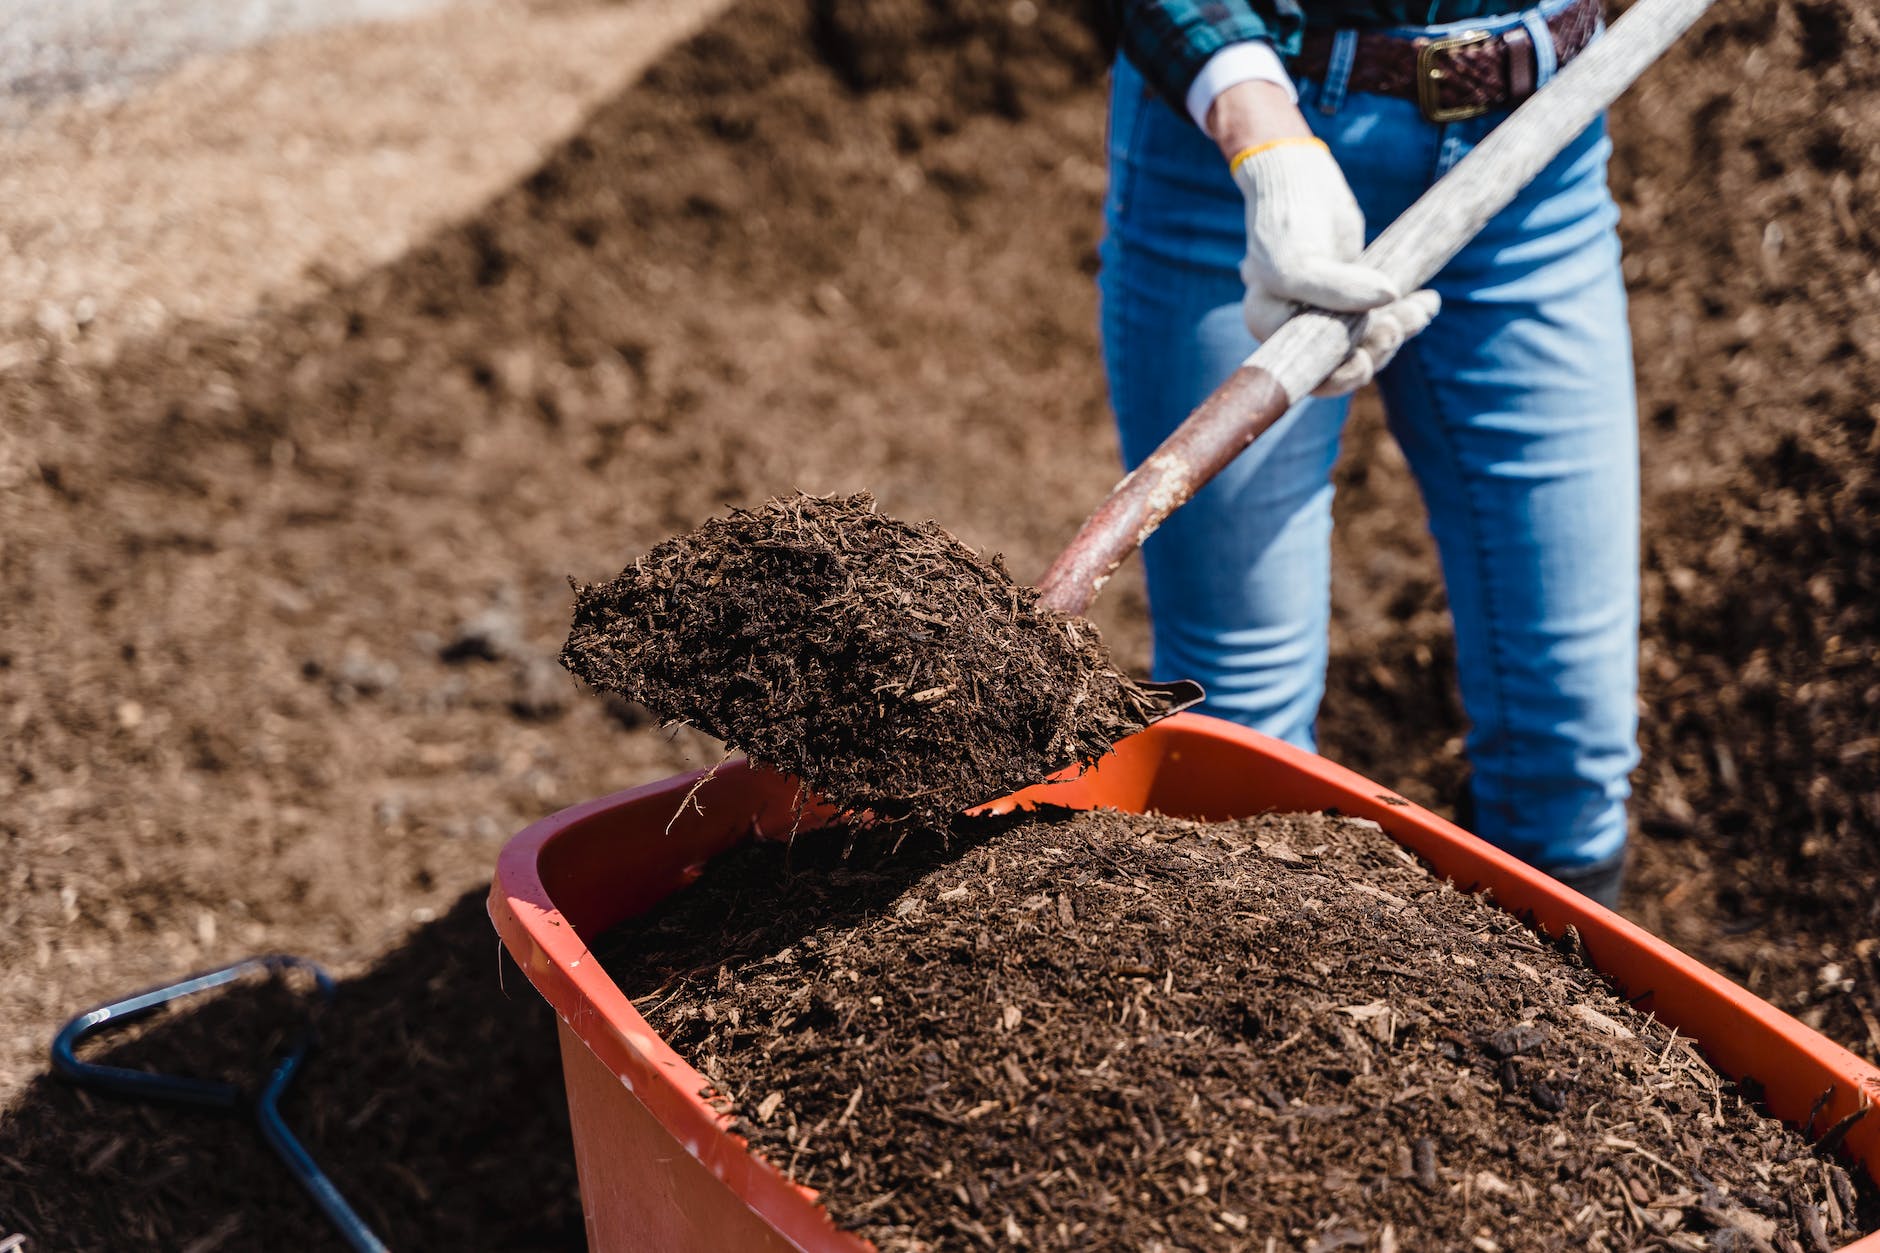
You’ll need gloves and tools to turn the compost and keep it aerated. A pitchfork and a shovel are good starting points. - Signs and educational materials:
You may want to create signs or educational materials to explain the composting process to other gardeners and encourage them to participate.
Step 3: Choose a Composting Location
Choose a location for your compost bins that is accessible to all gardeners but not too close to any individual plot. Composting can produce odors and attract pests, so you don’t want to create any problems for your neighbors. Make sure that the location has good drainage and is easy to access for adding and removing compost.
Step 4: Educate All Gardeners on the Benefits of Composting
Before you start your composting program, make sure that all gardeners understand the benefits of composting and how to do it properly. You may want to hold a meeting or workshop to explain the process and answer any questions that people may have. You can also provide educational materials, such as brochures or handouts, to help spread the word.
Step 5: Monitor and Maintain the Compost
Once you’ve started composting, it’s important to monitor and maintain the compost bins regularly. Make sure that the compost stays moist but not too wet, and turn it regularly to aerate it and speed up the composting process. You may also want to add more compost starter periodically to keep the microbes active.

Starting a community composting program at your allotment site can have numerous benefits. It not only helps to reduce waste but also improves soil health and reduces greenhouse gas emissions. It can also bring gardeners together and create a sense of community.
To start a composting program at your allotment site, it is essential to get approval from the site management, gather the necessary materials and equipment, choose a suitable location for the compost bins, educate all gardeners on the benefits of composting, and monitor and maintain the compost regularly.
By taking these steps, you can create a successful composting program that not only benefits the environment but also strengthens the bond between gardeners. Working together towards a common goal of creating rich and fertile soil can help to foster a sense of camaraderie and collaboration within the community.
So, if you’re looking for a way to make your allotment site more sustainable and bring gardeners together, consider starting a community composting program. It’s a simple but effective way to make a positive impact on the environment and create a more vibrant and connected community.


