Clearing an Allotment Plot: Essential Information and Steps
- Assess the plot:
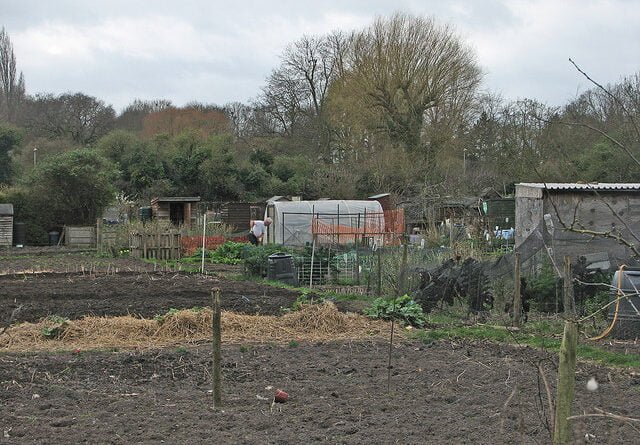
Before you start clearing your allotment, it’s important to assess the plot to get a sense of what you’re dealing with. Firstly, check for any hazards, such as broken glass, sharp objects, or hidden wires. Make sure to dispose of these items safely. Also, if there are any existing structures on the plot, such as sheds or greenhouses, take a close look at their condition. You may need to make repairs or demolish them if they are in poor condition.
If the plot has been neglected for a while, it’s likely that you’ll find some overgrown plants and weeds. Take a good look at the plot and decide which plants and trees you want to keep, and which ones you want to remove. If there are fruit trees on the plot, you’ll want to keep those, as they can be an excellent source of fresh produce. You may also want to keep any shrubs or bushes that provide a good source of shelter for wildlife.
- Gather the right tools:
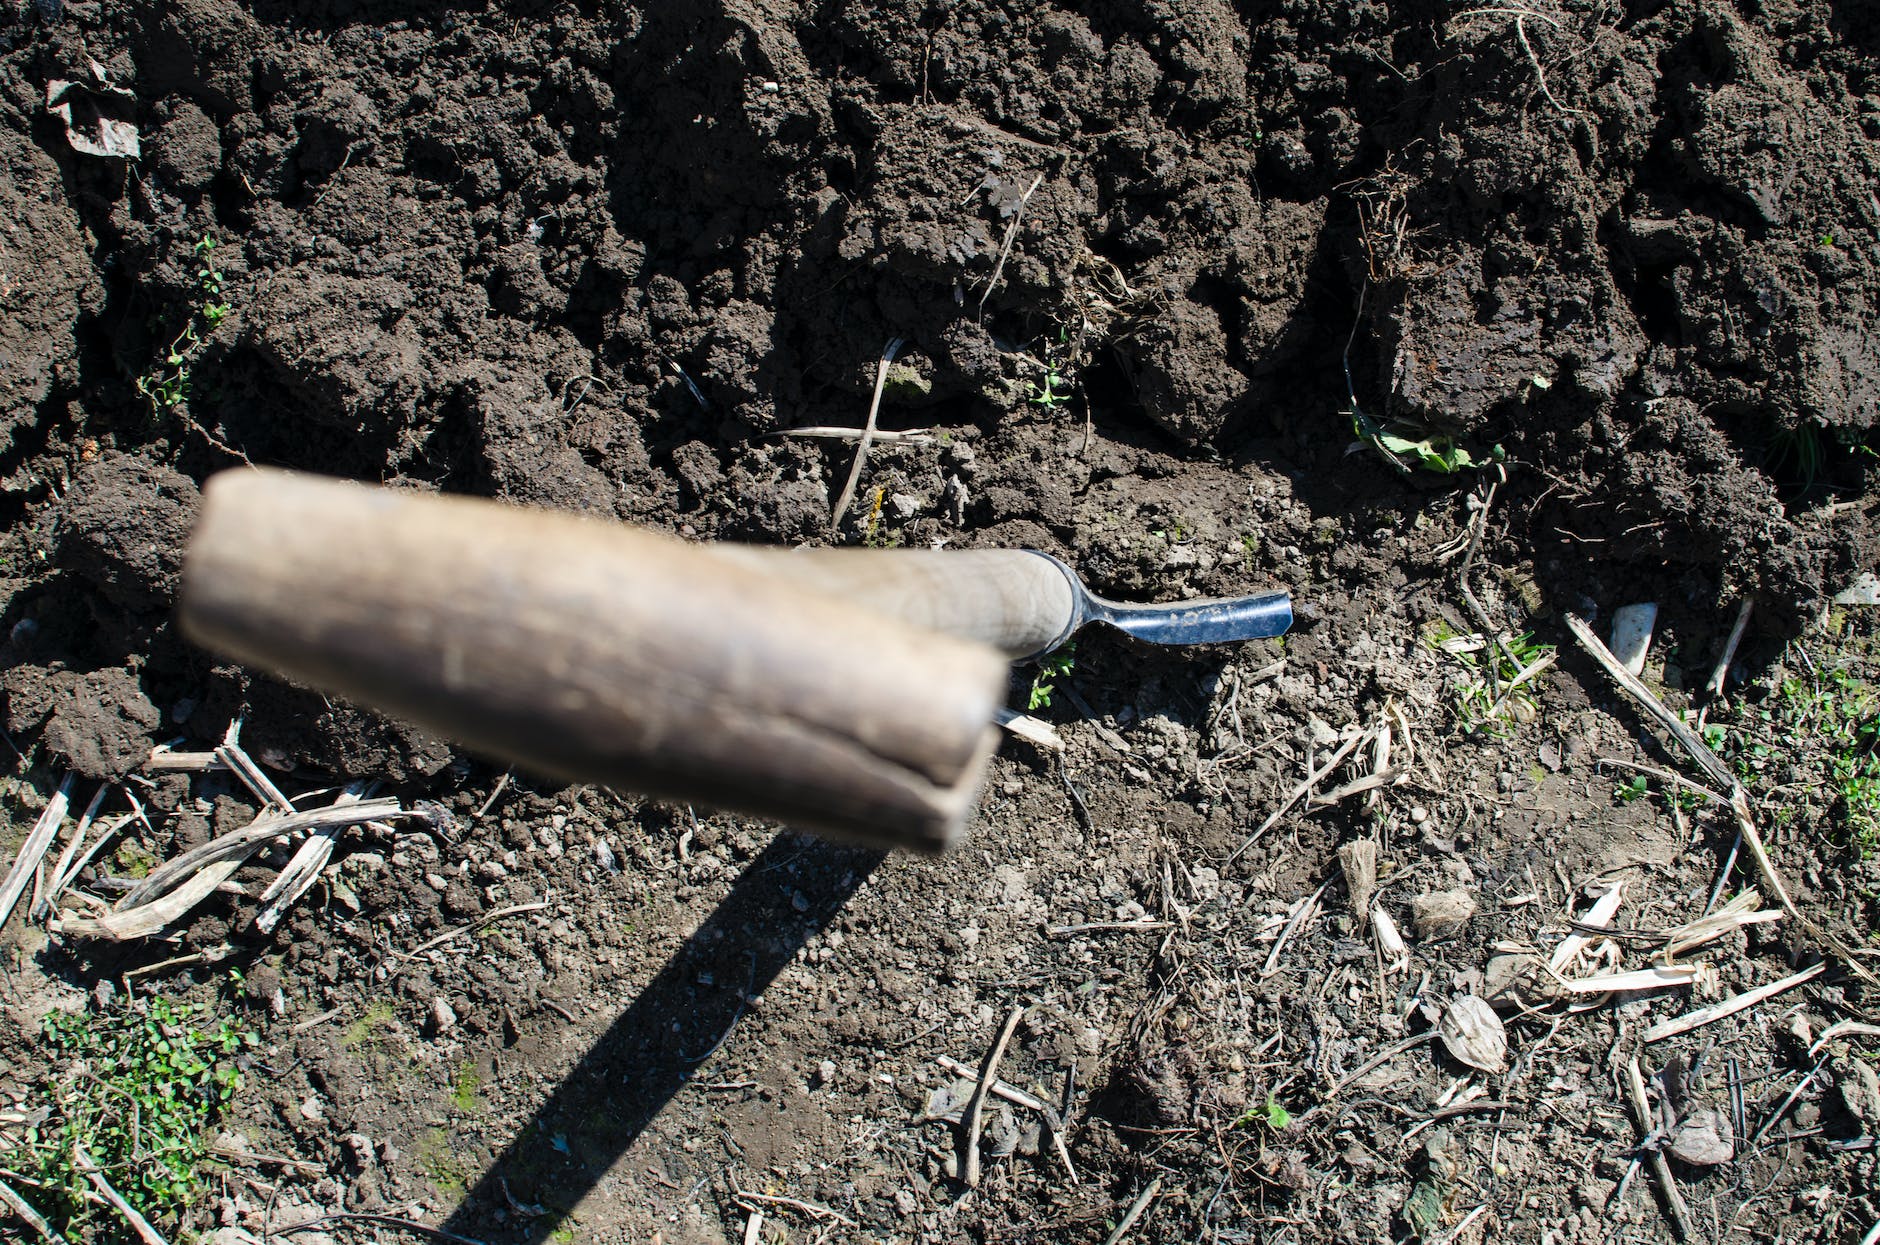
Clearing an allotment plot requires the right tools. You will need a spade, a fork, a rake, and a pair of gardening gloves. If the plot has tall grass or weeds, a scythe or a strimmer may be helpful. A garden hoe is also useful for clearing out weeds and preparing the soil. A rotavator can significantly reduce the time and effort required to clear an allotment plot. Its powerful blades can quickly break up and till the soil, covering large areas efficiently. Consider investing in a wheelbarrow to make it easier to move debris from the plot.
- Clear the plot:
Once you have assessed the plot and gathered your tools, it’s time to start clearing the plot. Start by removing any large debris or rubbish from the plot. This could include old pots, broken fencing, and other items that may have been left behind. If you have access to a skip or other waste removal service, you can dispose of these items there. Otherwise, you’ll need to make arrangements to dispose of them yourself.
Next, use a spade to dig up any weeds or plants you do not want to keep. You may need to use a fork to loosen the soil around the roots of larger plants. If the soil is compacted, use a fork to break it up. This will make it easier to dig up weeds and other plants. Rake the soil to remove any debris and level it off. This will give you a clean slate to work with when you start planting.
- Dispose of waste:
Once you have cleared the plot, you will need to dispose of the waste. Most local councils offer green waste bins or have designated areas where you can dispose of garden waste. Alternatively, you can compost the waste if you have the space. Composting is an excellent way to reduce waste and create a nutrient-rich soil amendment for your garden.

- Plan your plot:
Before you start planting, take some time to plan your plot. Think about what vegetables or fruits you want to grow and how much space you will need for each crop. Consider the position of the sun and the amount of shade on the plot. Make a rough plan on paper or use a gardening app to help you design your plot.
When planning your plot, it’s a good idea to consider crop rotation. This involves growing different crops in the same spot each year to help maintain soil fertility and reduce the risk of diseases and pests. For example, you could grow potatoes one year, followed by beans, and then brassicas.
- Prepare the soil:
Once you have planned your plot, you will need to prepare the soil. If the soil is poor quality, consider adding some organic matter, such as compost or manure. This will help to improve the soil structure and provide essential nutrients for your plants. Spread a layer of compost or manure over the soil and then use a garden fork to work it into the top few inches of soil.
If your plot has not been cleared for a while, it’s a good idea to cover the soil with black plastic or weed suppressant fabric for a few weeks before you start planting. This will help to suppress any remaining weeds and will warm up the soil ready for planting. Once the weeds have died back, you can remove the plastic or fabric and start planting.
- Planting:
Now that you have prepared the soil, it’s time to start planting. Begin by planting the crops that you want to grow the most of, such as potatoes or beans. Plant these in rows with plenty of space between them. It’s important to give each crop enough space to grow, as overcrowding can lead to poor yields.
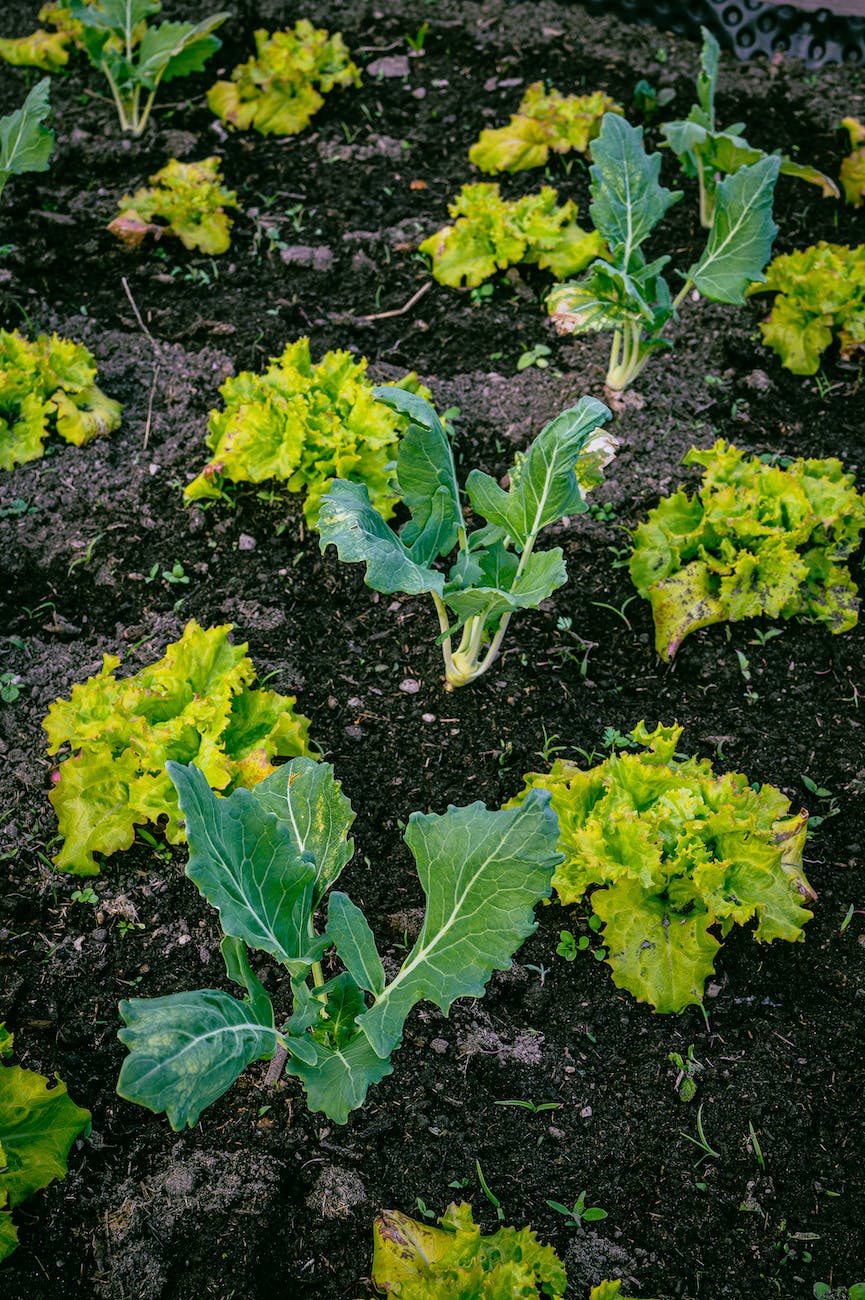
You can also plant crops that take up less space between the larger crops, such as lettuce, radish, and herbs. These will provide a continuous supply of fresh produce throughout the growing season.
When planting, make sure to water the soil before you start. This will help to settle the soil around the plant roots and provide moisture for the new plants. Water regularly throughout the growing season to ensure that the plants have enough moisture.
- Maintain your allotment:
Once you have planted your allotment, it’s important to maintain it to ensure that your crops thrive. This involves regular watering, weeding, and feeding. You may also need to protect your crops from pests and diseases by using netting, fleece, or organic pest control methods.
It’s also important to regularly harvest your crops to ensure that they continue to produce. This will also help to keep the plants healthy and prevent overcrowding.

Q: How do I clear an allotment plot?
A: Here are some steps you can follow to clear an allotment plot:
- Obtain permission: Contact the relevant authority or organization responsible for the allotment plots and obtain permission to clear the plot.
- Assess the plot: Visit the allotment plot and assess its current condition. Identify any existing vegetation, such as grass, weeds, or bushes, as well as any debris or obstacles that need to be removed.
- Remove vegetation: Start by mowing or cutting down the existing vegetation using appropriate tools such as a lawnmower, rotavator, chainsaw, or trimmer. If the vegetation is dense, you may need to clear it in sections.
- Dig or till the soil: Once the vegetation is removed, use a garden fork or spade to loosen the soil. Digging or tilling the soil helps to break it up and prepare it for planting.
- Remove debris: Clear the plot of any remaining debris, such as rocks, branches, or trash. Dispose of the debris appropriately.
- Level the plot: If necessary, level the plot by removing any bumps or uneven areas. Rake the soil to create a smooth and even surface.
- Amend the soil: Depending on the quality of the soil, you may need to amend it by adding organic matter such as compost or well-rotted manure. This helps to improve soil fertility and structure.
Q: Are there any safety precautions I should take while clearing the plot?
A: Yes, it’s important to prioritise safety while clearing an allotment plot. Here are a few precautions to consider:
- Wear appropriate protective gear, such as gloves, sturdy footwear, and long-sleeved clothing, to protect yourself from thorns, sharp objects, or potentially harmful plants.
- Be cautious of any hidden hazards, such as broken glass, nails, or other sharp objects. Clear them carefully to avoid injury.
- If using tools, ensure they are in good condition and used correctly. Follow safety guidelines and use protective measures, such as goggles when operating machinery.
- Stay hydrated and take regular breaks, especially during hot weather.
- If you’re unsure about certain tasks, seek advice from experienced gardeners or professionals.
Remember to check with your local allotment authority or organization for any specific guidelines or regulations regarding clearing an allotment plot in your area.
Clearing an allotment plot can be a challenging but rewarding task. With the right tools, preparation, and planning, you can transform a neglected plot into a thriving garden. Whether you’re growing vegetables, fruits, herbs or flowers, an allotment plot can provide a wonderful source of fresh produce and a place to relax and unwind.


