Guide to Growing, Caring for and Harvesting Leeks
Growing leeks on an allotment can be a great way to enjoy fresh, healthy vegetables all year round. In this guide, I’ll take you through the process of growing leeks on an allotment.
Step 1: Choose the right spot
Leeks require a sunny spot with well-draining soil. This means that you should choose an area that receives plenty of sunlight throughout the day, as leeks need at least six hours of direct sunlight to grow properly. Additionally, the soil should be well-draining, meaning that it should not retain too much moisture. Leeks can be prone to rot if the soil is too wet for extended periods.
Choose an area that is not too windy, as strong winds can damage the plants. If your allotment is exposed to strong winds, consider planting leeks near a windbreak or in a sheltered area. Finally, make sure the soil is rich in organic matter, which will help to improve the soil structure and provide the nutrients that leeks need to grow.
Before planting, dig over the soil thoroughly to break up any clumps and remove any weeds. You may also want to consider adding a layer of mulch to help retain moisture and keep the soil temperature consistent.
Step 2: Prepare the soil
Leeks require a pH of between 6.5 and 7.5. If your soil is too acidic, you may need to add lime to raise the pH level. Alternatively, if your soil is too alkaline, you can add sulfur to lower the pH level. You can purchase soil testing kits from most garden centers to test the pH level of your soil.
Once you have adjusted the pH, add plenty of well-rotted organic matter to the soil to improve its fertility. This can be in the form of compost, well-rotted manure, or leaf mold. Work the organic matter into the soil to a depth of around 8 inches. This will help to improve the soil structure, retain moisture, and provide the nutrients that leeks need to grow.
Step 3: Plant the leeks
Leeks are best planted in late spring or early summer. Before planting, prepare the soil by raking it over to create a level surface. Begin by making holes in the soil with a dibber or trowel, about 6 inches apart. The holes should be deep enough to accommodate the leek seedlings, which should be planted with the roots pointing downwards.
When planting leeks, it’s important to make sure that the soil is not compacted around the roots. Gently firm the soil around the seedlings, being careful not to damage the roots. Once planted, water the leeks thoroughly to help settle the soil around the roots.
Step 4: Water
the leeks Leeks require regular watering, especially during dry periods. Water the plants deeply once or twice a week, making sure that the soil is thoroughly moistened. Avoid getting water on the leaves, as this can increase the risk of fungal diseases.
It’s important to water the plants consistently throughout the growing season, as uneven watering can cause the leeks to split or bolt. If you’re growing leeks in a particularly dry area, you may want to consider using a drip irrigation system to provide consistent watering.
Step 5: Care and maintenance
As the leeks grow, it’s important to keep them weed-free. Weeds can compete with the leeks for nutrients and water, which can affect their growth. Hand-weed around the plants regularly, or use a hoe to keep the area around the leeks clear.
Leeks can also benefit from a liquid feed every few weeks, especially during the early stages of growth. Use a balanced fertilizer, following the instructions on the label.
Finally, as the leeks grow taller, you may want to consider earthing them up to blanch the stems. This involves drawing soil up around the base of the plant to cover the lower part of the stem. This helps to produce a longer, more tender white stem. Begin earthing up the leeks once they are around 8 inches tall, and continue to do so every few weeks until the stems are fully blanched.
Step 6: Harvesting
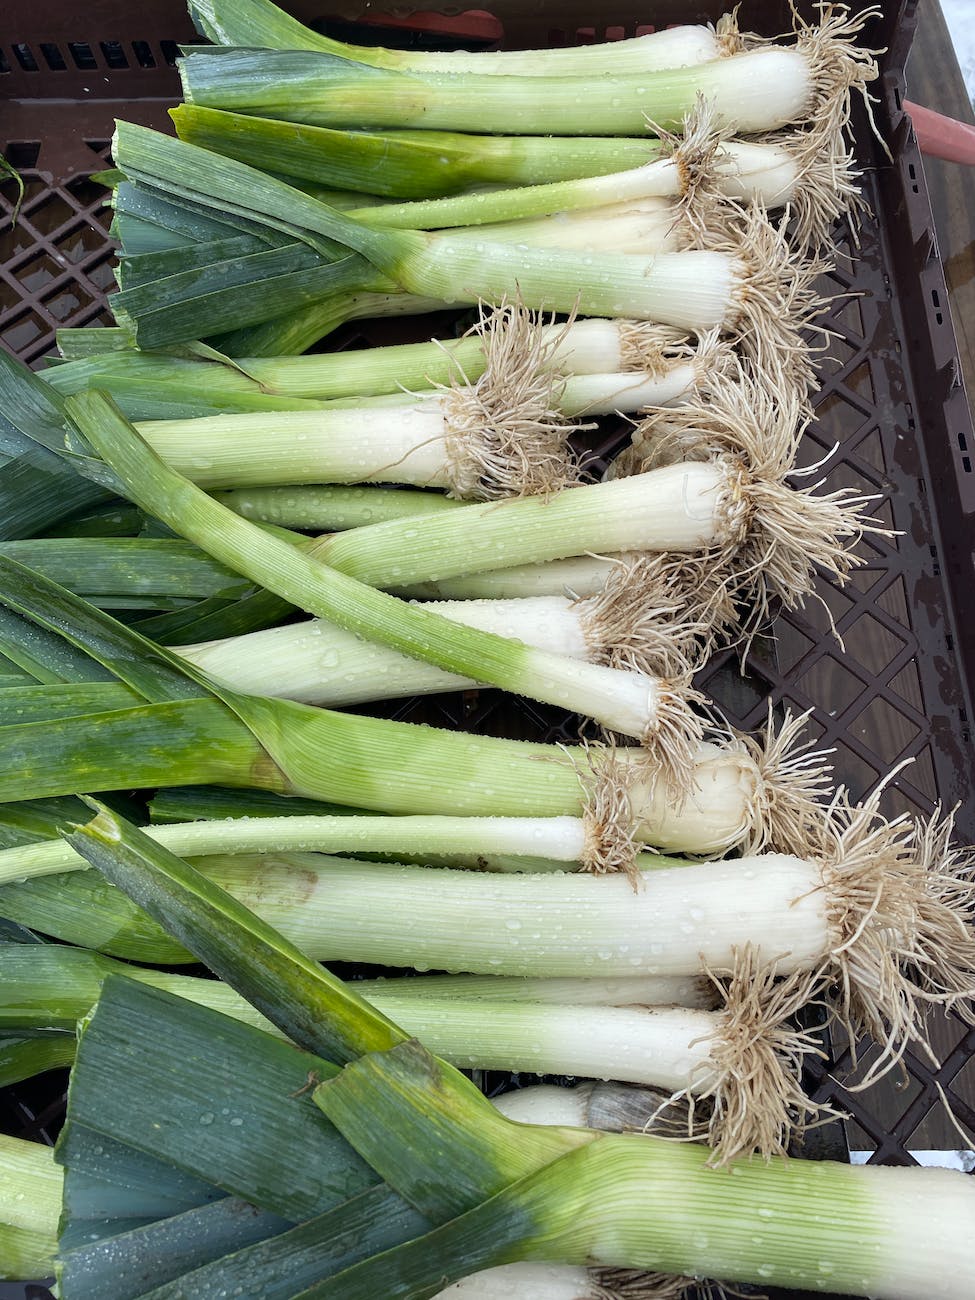
Leeks are ready to harvest when the stems are around 1 inch in diameter. To harvest, use a fork to carefully loosen the soil around the base of the plant. Gently pull the leek out of the ground, taking care not to damage the stem. You can store leeks in the refrigerator for up to a week, or freeze them for longer-term storage.

Growing leeks in your allotment can be a rewarding and delicious endeavor. With their unique flavor, versatility in cooking, and impressive health benefits, leeks are a fantastic addition to any homegrown vegetable garden. By following the steps outlined in this guide, from preparing the soil to harvesting the mature leeks, you can enjoy a bountiful supply of fresh, homegrown leeks throughout the growing season.
Leeks thrive in cool weather and require minimal maintenance, making them an ideal choice for allotment owners. Their long growing season allows for a continuous harvest, providing you with a steady supply of leeks for various culinary creations. From hearty soups and stews to flavorful sautés and roasts, leeks add a distinct flavor and aroma to a wide range of dishes.
Aside from their culinary appeal, leeks offer a host of health benefits. They are a good source of vitamins, minerals, and dietary fiber, making them a nutritious addition to your meals. Leeks are known for their potential antioxidant, anti-inflammatory, and immune-boosting properties, supporting overall health and wellbeing.
As you embark on your leek-growing journey, remember to select suitable varieties, provide adequate care, and monitor for any pests or diseases. Regular watering, proper soil preparation, and timely harvesting will contribute to the success of your leek crop.
So, roll up your sleeves, prepare your soil, and plant some leek seedlings or sets in your allotment. With patience and care, you’ll be rewarded with a satisfying harvest of fresh, flavorful leeks that will elevate your culinary creations and bring a sense of accomplishment to your allotment endeavors. Enjoy the process, savor the flavors, and relish in the satisfaction of growing your own leeks. Happy leek growing!


