Allotment DIY Projects: How to Build Raised Garden Beds for Your Plot
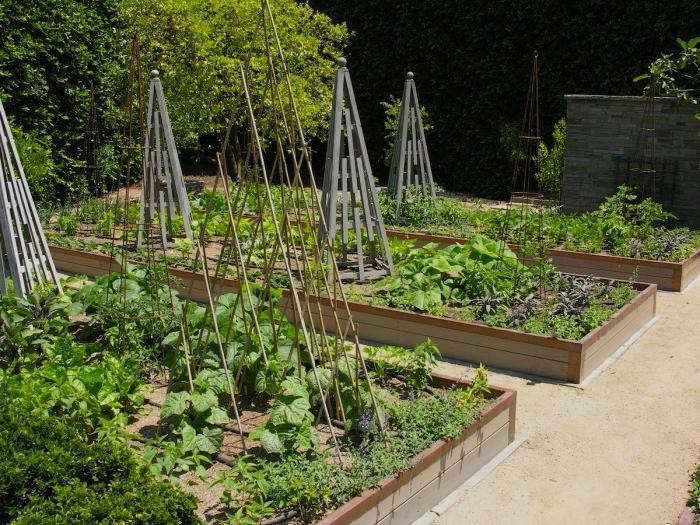
Raised garden beds are a popular and effective way to grow plants on an allotment site. They offer several benefits, including improved drainage, better soil quality, and easier access for gardeners. Additionally, raised beds can help to define garden space and add visual interest to your plot. In this blog post, we’ll walk you through the steps to build your own raised garden bed for your allotment plot.
Materials:
- Untreated wood boards (cedar or redwood are recommended)
- Wood screws (3-inch or longer)
- Power drill
- Circular saw
- Measuring tape
- Level
- Garden soil and compost
Instructions:
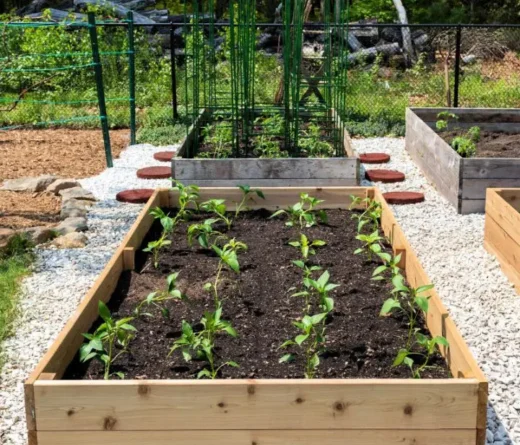
- Determine the Size of Your Raised Bed Before you begin, decide how big you want your raised garden bed to be. Consider the space available on your allotment plot and the amount of plants you want to grow. We recommend starting with a bed that’s 4 feet wide by 8 feet long and 10-12 inches deep.
- Choose Your Wood For your raised bed, choose untreated wood boards that are at least 2 inches thick. Cedar or redwood are good options, as they are naturally resistant to decay and insects. Avoid pressure-treated wood, as it may contain harmful chemicals that can leach into the soil.
- Cut Your Wood Use a circular saw to cut your wood boards to the desired length. For a 4×8-foot bed, you will need four 8-foot-long boards for the sides and four 4-foot-long boards for the ends. Cut the boards at a 45-degree angle at the corners to create a snug fit.
- Assemble Your Bed Place one of the long boards on the ground, then attach one of the short boards at a 90-degree angle using wood screws. Repeat this process with the remaining boards, creating a rectangular frame. Use a level to ensure that the frame is even and level.
- Add Bracing (Optional) For added stability, you can add corner braces to your raised bed. Cut two pieces of wood at a 45-degree angle to fit diagonally across each corner of the bed. Attach them with wood screws.
- Fill Your Bed with Soil and Compost Once your raised bed is assembled, fill it with a mixture of garden soil and compost. Aim for a 50/50 mix. You can also add a layer of straw or leaves on top to help retain moisture.
- Plant Your Garden Your raised bed is now ready to be planted! Use a garden trowel to create planting holes and plant your seedlings or seeds according to their specific planting instructions.

Building raised garden beds is an excellent DIY project for anyone looking to grow their own produce in a limited space. It is relatively easy to construct and can be done with basic tools and materials.
Before starting your project, it is important to choose the right location, size, and materials for your raised bed. You should also consider the type of plants you want to grow and the soil requirements.
Once you have planned out your project, you can begin construction by building the frame and adding soil and compost. Watering, weeding, and regular maintenance are necessary to ensure a successful harvest.
Raised garden beds offer many benefits, including improved drainage, better soil quality, and easier access for planting and harvesting. They also help to prevent soil erosion and reduce the risk of pests and diseases.
Building raised garden beds is a fun and rewarding project that can provide you with fresh and healthy produce for years to come. So, roll up your sleeves and get started on your very own DIY garden project!


