
Embrace Soil Enrichment: A Detailed Guide to Making Your Own Compost
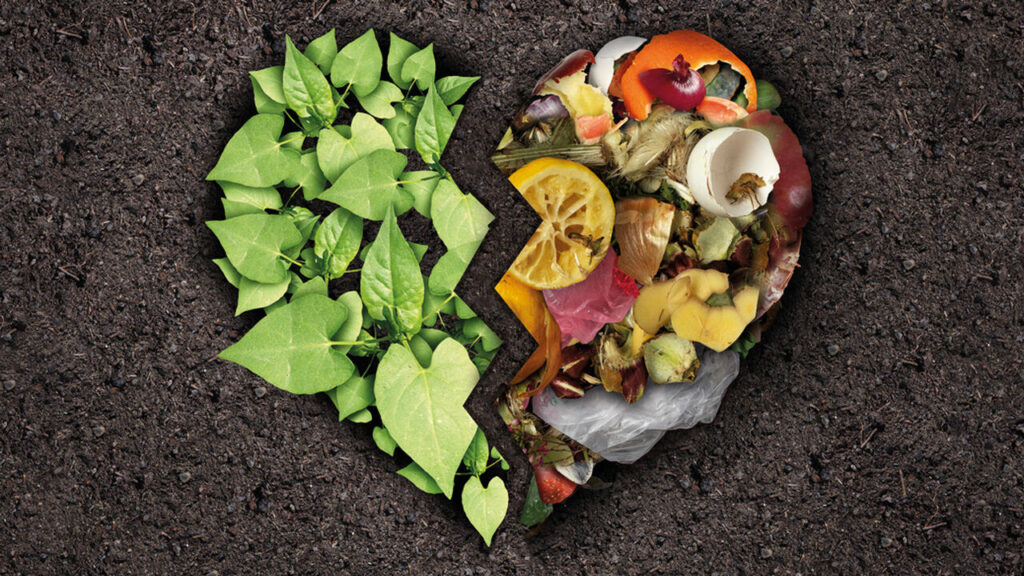
Composting, the art of turning kitchen scraps and garden waste into a valuable and nutrient-rich soil conditioner, is a sustainable practice that offers a myriad of benefits for both your garden and the environment. While it may seem like a simple process, delving into the world of composting unveils a fascinating journey of transformation, where discarded materials are reborn into organic gold that nurtures your plants and reduces the burden on landfills. In this comprehensive guide, we will not only explore the fundamentals of composting but also empower you with the knowledge and skills needed to create your own compost right in the comfort of your home.
What is Composting?
Composting is the process of breaking down organic material into a nutrient-rich soil amendment that can be used to improve the health of your garden. The process of composting occurs naturally, but you can speed it up by creating the right conditions for the microorganisms that break down the organic material.
Why Compost?
There are many reasons to compost. Firstly, composting is a simple and effective way to reduce your waste and cut down on the amount of waste that ends up in landfill. Secondly, composting can help you to save money on your garden supplies, as you can use your own compost instead of buying commercial soil conditioners and fertilizers. Finally, composting is a great way to help reduce your carbon footprint and contribute to a greener future.
What Can You Compost?
Almost any organic material can be composted, including fruit and vegetable scraps, leaves, grass clippings, coffee grounds, eggshells, and more. However, there are a few things that should not be composted, such as meat, bones, dairy products, and any material that has been treated with chemicals.
Step-by-Step Guide to Making Your Own Compost
Step 1: Choose a Location for Your Compost Bin
The first step in making your own compost is to choose a location for your compost bin. You’ll need a flat, well-drained area that is close to your garden, but out of the way. You’ll also want to choose a location that is shaded, as compost should be kept moist, but not soaking wet.
Step 2: Choose a Compost Bin
There are many different types of compost bins available, from simple wire bins to more elaborate tumbling composters. The type of compost bin you choose will depend on your budget, the size of your garden, and your personal preferences.
Step 3: Layer Your Compost
Once you’ve chosen a location for your compost bin and a compost bin, the next step is to start layering your compost. You’ll want to alternate between layers of “brown” material, such as leaves and twigs, and “green” material, such as fruit and vegetable scraps.
Step 4: Moisten and Turn Your Compost
Once you’ve got your compost bin filled with alternating layers of brown and green material, the next step is to moisten the compost and turn it. This will help to speed up the composting process and ensure that the compost is breaking down evenly. You should turn your compost once a week, or whenever you add new material to the bin.
Step 5: Harvest Your Compost
Once your compost has broken down into a dark, rich soil-like material, it’s time to harvest it. This usually takes between 4-6 months, depending on the size of your compost bin and the amount of material you’re composting. To harvest your compost, simply turn the bin over and sift out any larger pieces of material that have not broken down.
By mastering the art of composting, you not only reduce waste going to landfills but also contribute to the overall health of your garden and the environment. As we delve deeper into the nuances of composting, you’ll discover that this natural recycling process is not just environmentally responsible; it’s also a rewarding and transformative journey that connects you more intimately with the cycles of nature. So, let’s roll up our sleeves and embark on this eco-friendly adventure together, one compost pile at a time.